Adding authentication to a web app
03 Mar 2023
Why did I include a massive robot gorilla above? Why wouldn’t I? He represents strength, security, and is the bouncer of a technological paradise. In other words he represents authentication, a foundational piece of technology used in almost every web application. Let’s get to its formal definition.
Authentication: Computing: the process or action of verifying the identity of a user or process.
Without authentication, we don’t know who is who. We have no concept of a user. Up until a couple days ago Laughter Engine had no authentication and consequently such a concept of a user. It was rock and roll without a drummer. It was the seasons without summer. It was the NBA without slam dunks. It was a meal without hot sauce. In other words, it was disappointing.
Let me explain how this came to be. At first I wanted to create a product that would make people happy, bringing them smiles and great jokes that could brighten their day. One of the main features I built was the ability for a user to laugh at a joke, which would add a ranking to the joke in order to contribute to a global leaderboard of most laughed at jokes.
In addition to that, I created a section of the app which would display to the user the list of jokes they laughed at, in case they wanted to go back and reference their favorite jokes. However, there was one glaring problem with this concept. The list of a person’s favorite jokes would only be stored for the given browser session. If the user refreshed their browser or accessed the app via a different device, their favorite jokes would be wiped away. They would no longer be able to see the jokes that made them smile.
I started to think. What point is there to only remember the laughed at jokes from a single browser session? Is it even useful at all to give the user an impression that their favorite joke has been saved.
That’s when it hit me… I need to add authentication into my app. That way, I create a mapping from users to jokes, and whenever a user logs into my app, I will fetch all of their favorite jokes, displaying them to the user to their delight.
Favorite jokes would no longer be a temporary thing. They’d be permanent. For eternity, they’d be there for the user to reminisce upon.
To do this, I’d have to implement authentication, a big scary word that had me in fear with my tail between my legs when I was confronted with it in past jobs. Although I was never tasked with building out an authentication system in past jobs, I certainly had to make tweeks to some authentication related code. Quite frankly, I hated these tasks as I never fully understood how authentication works.
Now I’m proud to say I’ve implemented authentication into Laughter Engine, and I’m here to tell you that implementing it is not rocket science and doing so greatly helps with building an understanding of the technology. What was once a nightmare is now an accomplishment and I’m happy to share some of the decisions and implementation details of my authentication implementation journey. In the wise words of a Hebrew song I used to sing in summer camp: “The whole wide world is a very narrow bridge, but the most important thing is to have no fear at all. (כל העולם כולו גשר צר מאוד והעיקר לא לפחד כלל)” With that, let’s dive in.
Where do I even start?
Authentication can be built into an app through a variety of different ways…
- Username/password sign up and sign in experience.
- Login through a third party provider like Google, Facebook, or Github.
I ended up choosing option 2 since it’s easier to implement, and I believe it’s a more simple experience for the user. If I did option 1, I’d have to worry about saving down usernames, encrypting passwords, building a reset password flow, etc. With option 2, I don’t have to worry about it at all!
Of all the third party auth providers I could choose from, I ended up going with Google since at time of writing (2023), I believe more people are likely to have a google account than any other third party provider.
So in order to build this out, I did what most other software engineers do when they are trying to solve a problem: Search Google.
My query was something along the lines of “google login react”, and it brought me to the perfect npm package for the job: @react-oauth/google.
There were a couple of other options, but this seemed to be widely popular and functional so I just went with it and used that as the main library to hook up google auth into my app.
Well enough with the talk about overarching technological decisions. Let’s get into what the authentication flow actually looks like in the app.
User flow to authenticate
So I figured that the main use case for a user wanting to access their user data is on the section of their laughed at jokes. Accordingly, I added the auth flow to that part of the site.
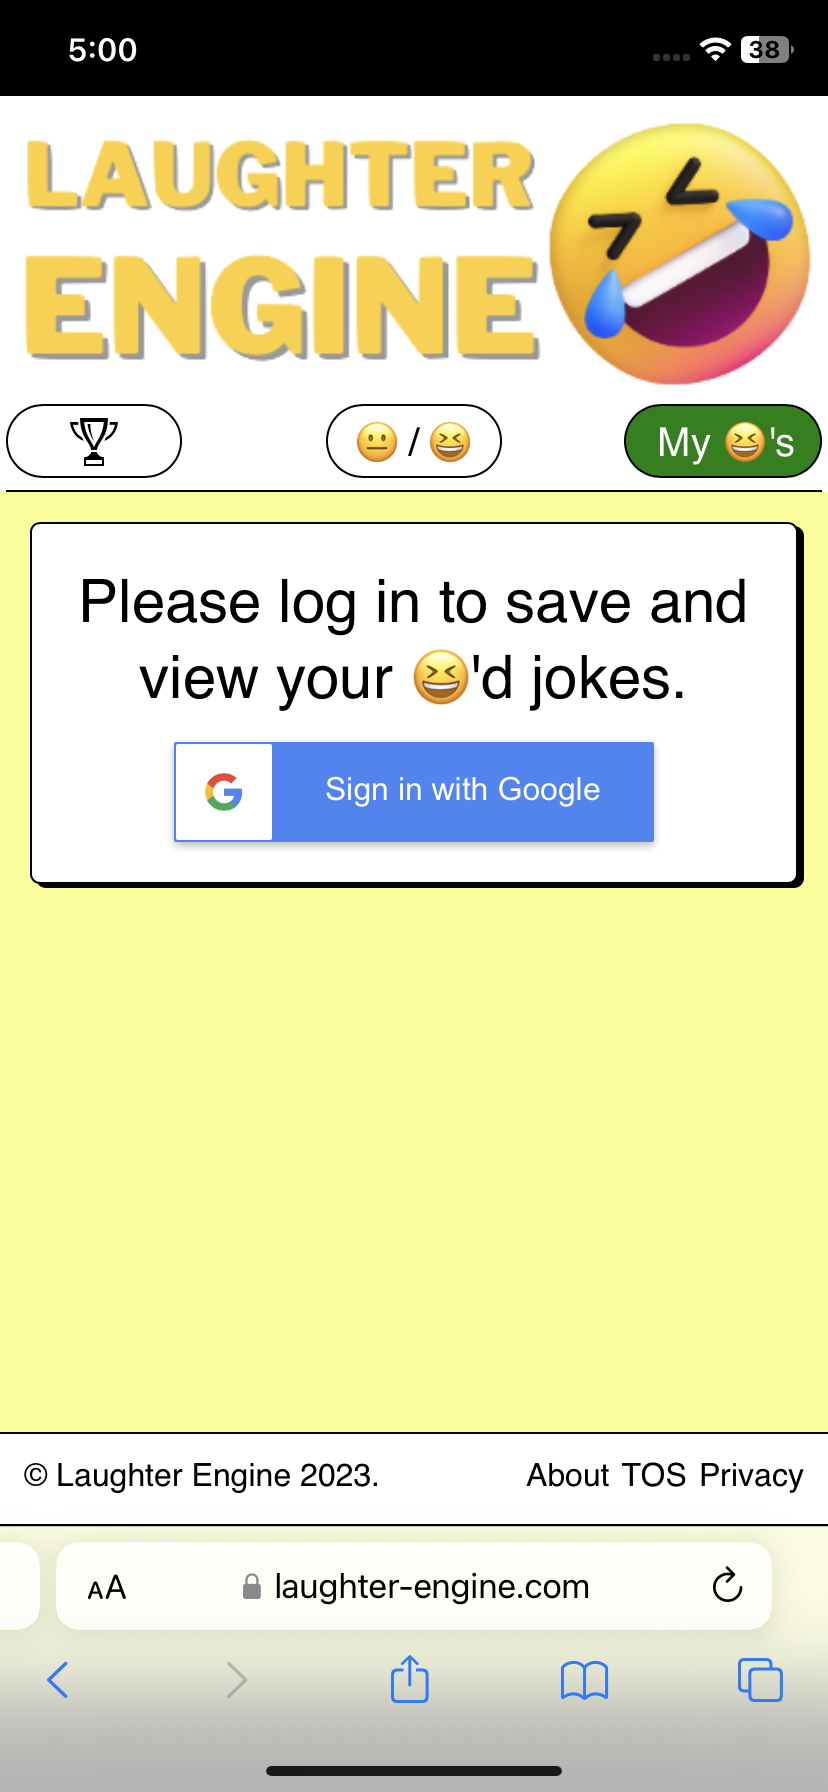
Once the user clicks on “Sign in with Google”, they are brought to a separate tab where they can log in with google.
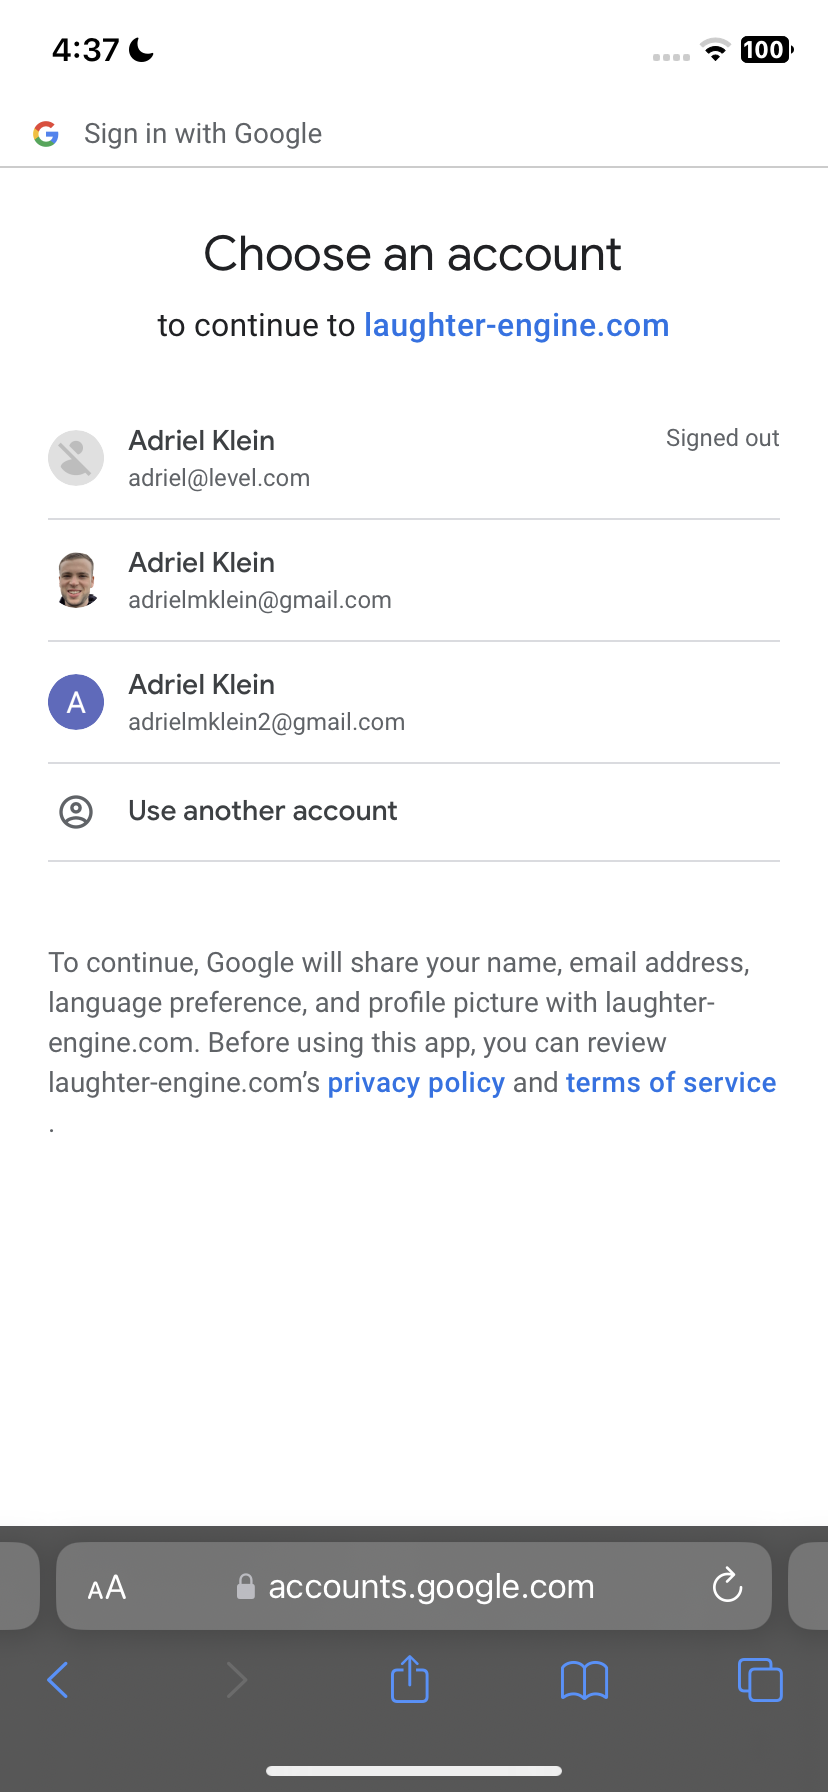
Upon choosing their account and logging in, they are finally brought back to the app where their user jokes are displayed.

Edge case alert! Let’s say a user has already laughed at a few jokes before logging in. In this case there are a bunch of laughed at jokes in the favorite jokes section, however we still display the google sign in button.
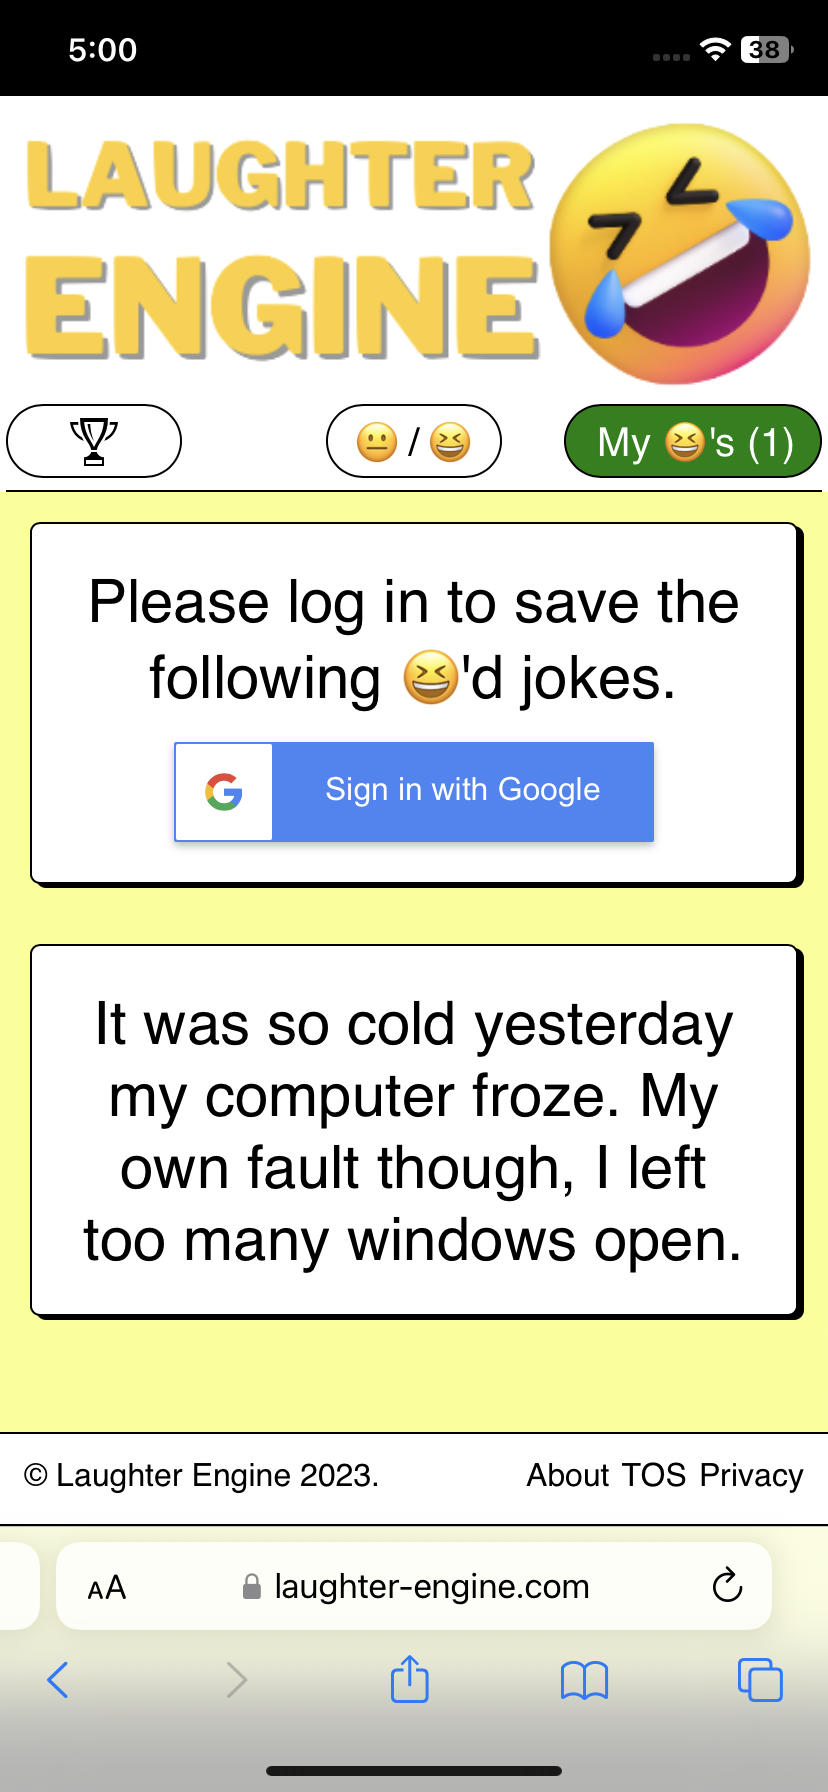
With my messaging, I try to make it clear that these favorite jokes are only temporary and urge the user to sign in to save them permanently. Upon signing in, we save the list of temporary favorite jokes to the database so that they are added the the user’s favorite joke collection.
What database tables did you need to add to make this work?
I added just two tables to get the job done:

As you can see with the user_ table (user is a keyword in Postgres and can’t be used), it’s quite simple with just three columns. I wanted to create a concept of a userId instead of using email as an id since there’s always a chance I bring a “change email address” feature. In this case, I’d want the userId remaining the same but would just update the email field. This validates the idea that userId remains consistent and represents a single user without ever changing.
The last_login_time is an optional field, but figured I’d add it in just in case I want to add some feature to monitor how many monthly active users I have. That way I can easily set up a query such as “give me all the users who have a last_login_time within the past month.
In the user_joke table, I’m pretty much just making a mapping of users with jokes. This makes it easy later to find all the jokes associated with a user by making a query such as “give me all the user jokes where user_id is equal to some value.
What API endpoints were added to implement this?
Here’s what I added to my serverless.yml to get this done.
createOrUpdateUser:
  handler: handler.createOrUpdateUser
  events:
    - httpApi:
        path: /createOrUpdateUser
        method: post
getLaughedAtJokes:
  handler: handler.getLaughedAtJokes
  events:
    - httpApi:
        path: /getLaughedAtJokes
        method: get
addUserJoke:
  handler: handler.addUserJoke
  events:
    - httpApi:
        path: /addUserJoke
        method: post
So there’s three new endpoints.
POST /createOrUpdateUser- Given an
email, either create a new row inuser_with that email or update thelast_login_timeof an existing row - Keep in mind here that we’re only calling this endpoint after receiving a valid response from
https://www.googleapis.com/oauth2/v1/userinfo?access_token=${accessTokenForGoogleAccount}which ensures that it’s in fact a valid google email that we’re working with
- Given an
GET /getLaughedAtJokes- Given a userId, get all the user jokes associated with that user
POST /addUserJoke- Given a userId and a jokeId, create an association between the user and the joke
- This endpoint is only used when there are a bunch of unsaved jokes and then the user logs in. The frontend code iterates through each unsaved joke and calls the endpoint to create the association
Although these are the three new endpoints, I also needed to update the POST /rateJoke endpoint to add a user_joke whenever a logged in user laughs at a joke. Now the rateJoke endpoint also accepts an optional userId and creates the association if the userId is present. Without making this modification, favorite jokes would not get saved for logged in users.
If you’re wondering about why I didn’t make POST /addUserJoke accept an array of jokeIds instead of repeatedly calling the endpoint over and over again for every unsaved joke, then I’m glad you’re paying attention and good thinking! That would indeed be a better approach, I just haven’t got around to implementing it the correct way. I opted for a shortcut in order to save time but admit having an array of jokeIds as a parameter would be much cleaner.
How did you make it so that user specific data persists when the browser is refreshed?
Sometimes it’s great implementing something on your own, because you get to really understand why a the inner workings of technological solution is why its so widely used in the first place. For me, that’s what happened when I realized that the user data would disappear whenever the user refreshed. Although the data was still saved down, the user would have to re-login every time they open up the app on their browser after it was either closed or refreshed. NOT IDEAL!
So I went to google: best way to persist user data across browser sessions. The top three results I got were…
- Session storage
- Local storage
- Browser cookies
I’m not going to go into a ton of detail about the difference from these three as that would be worthy of another blog post, however I will say that I went with browser cookies since they are probably the most widely used method to persist authentication related data in a browser.
Plus, cookies were never something I had a huge grasp on. Historically I’d had much more experience with the pastry version. In my career, it had only been something I’ve tinkered with and tweaked. I wanted to conquer the scary unknown!
To put it simply in my own words, a cookie is a piece of data that the browser stores and retains across browser sessions. Sometimes cookies have an expiration date, so after a certain period of time in the case of authentication you will be automatically logged out. Other times if the user clears their browser cookies, the user will be logged out as well since the cookie would have been removed.
It’s also worth noting that a cookie can be any piece of data, not necessarily data related to authentication. It’s just a key value pair, so the key could be foo and the value could be bar. But that wouldn’t be all too useful.
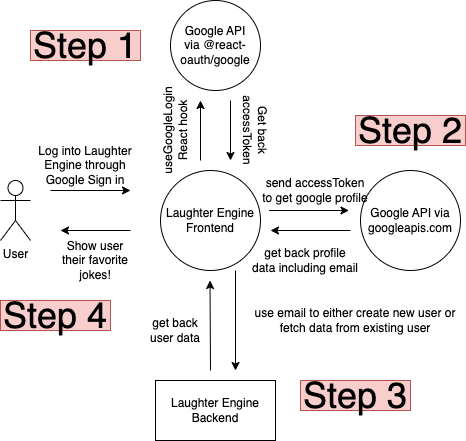
Enough talk, let’s get to the meat and potatoes here. What I ended up doing was using the @react-oauth/google npm package to fetch the google accessToken which would later be used to retrieve google profile data. That data contains a very special piece of information: the email. With the email, the frontend can then hit the custom backend api to retrieve all the user specific jokes. If that didn’t make much sense, it’s not because you are dumb. It’s just tough to follow through a paragraph. Here, let’s visualize it as a diagram.
So how do cookies fit into this?
If you take a closer look above, for step 1 we really only want to do that once and not have to do it every time a user refreshes or closes and opens a browser.
That’s where cookies come in. As you can see the result of Step 1 is that the front end is given an access token from Google. From the access token, we can do what we need to log into the app since the access token can be used to retrieve the email address which can be used to get the user’s jokes from the laughter engine backend.
All of this explanation is to say that the access token is a special key that can be used to get the user’s data. If we hold onto the accessToken we can continue to log the user into the app and get their data. So we store the access token as a cookie like so:
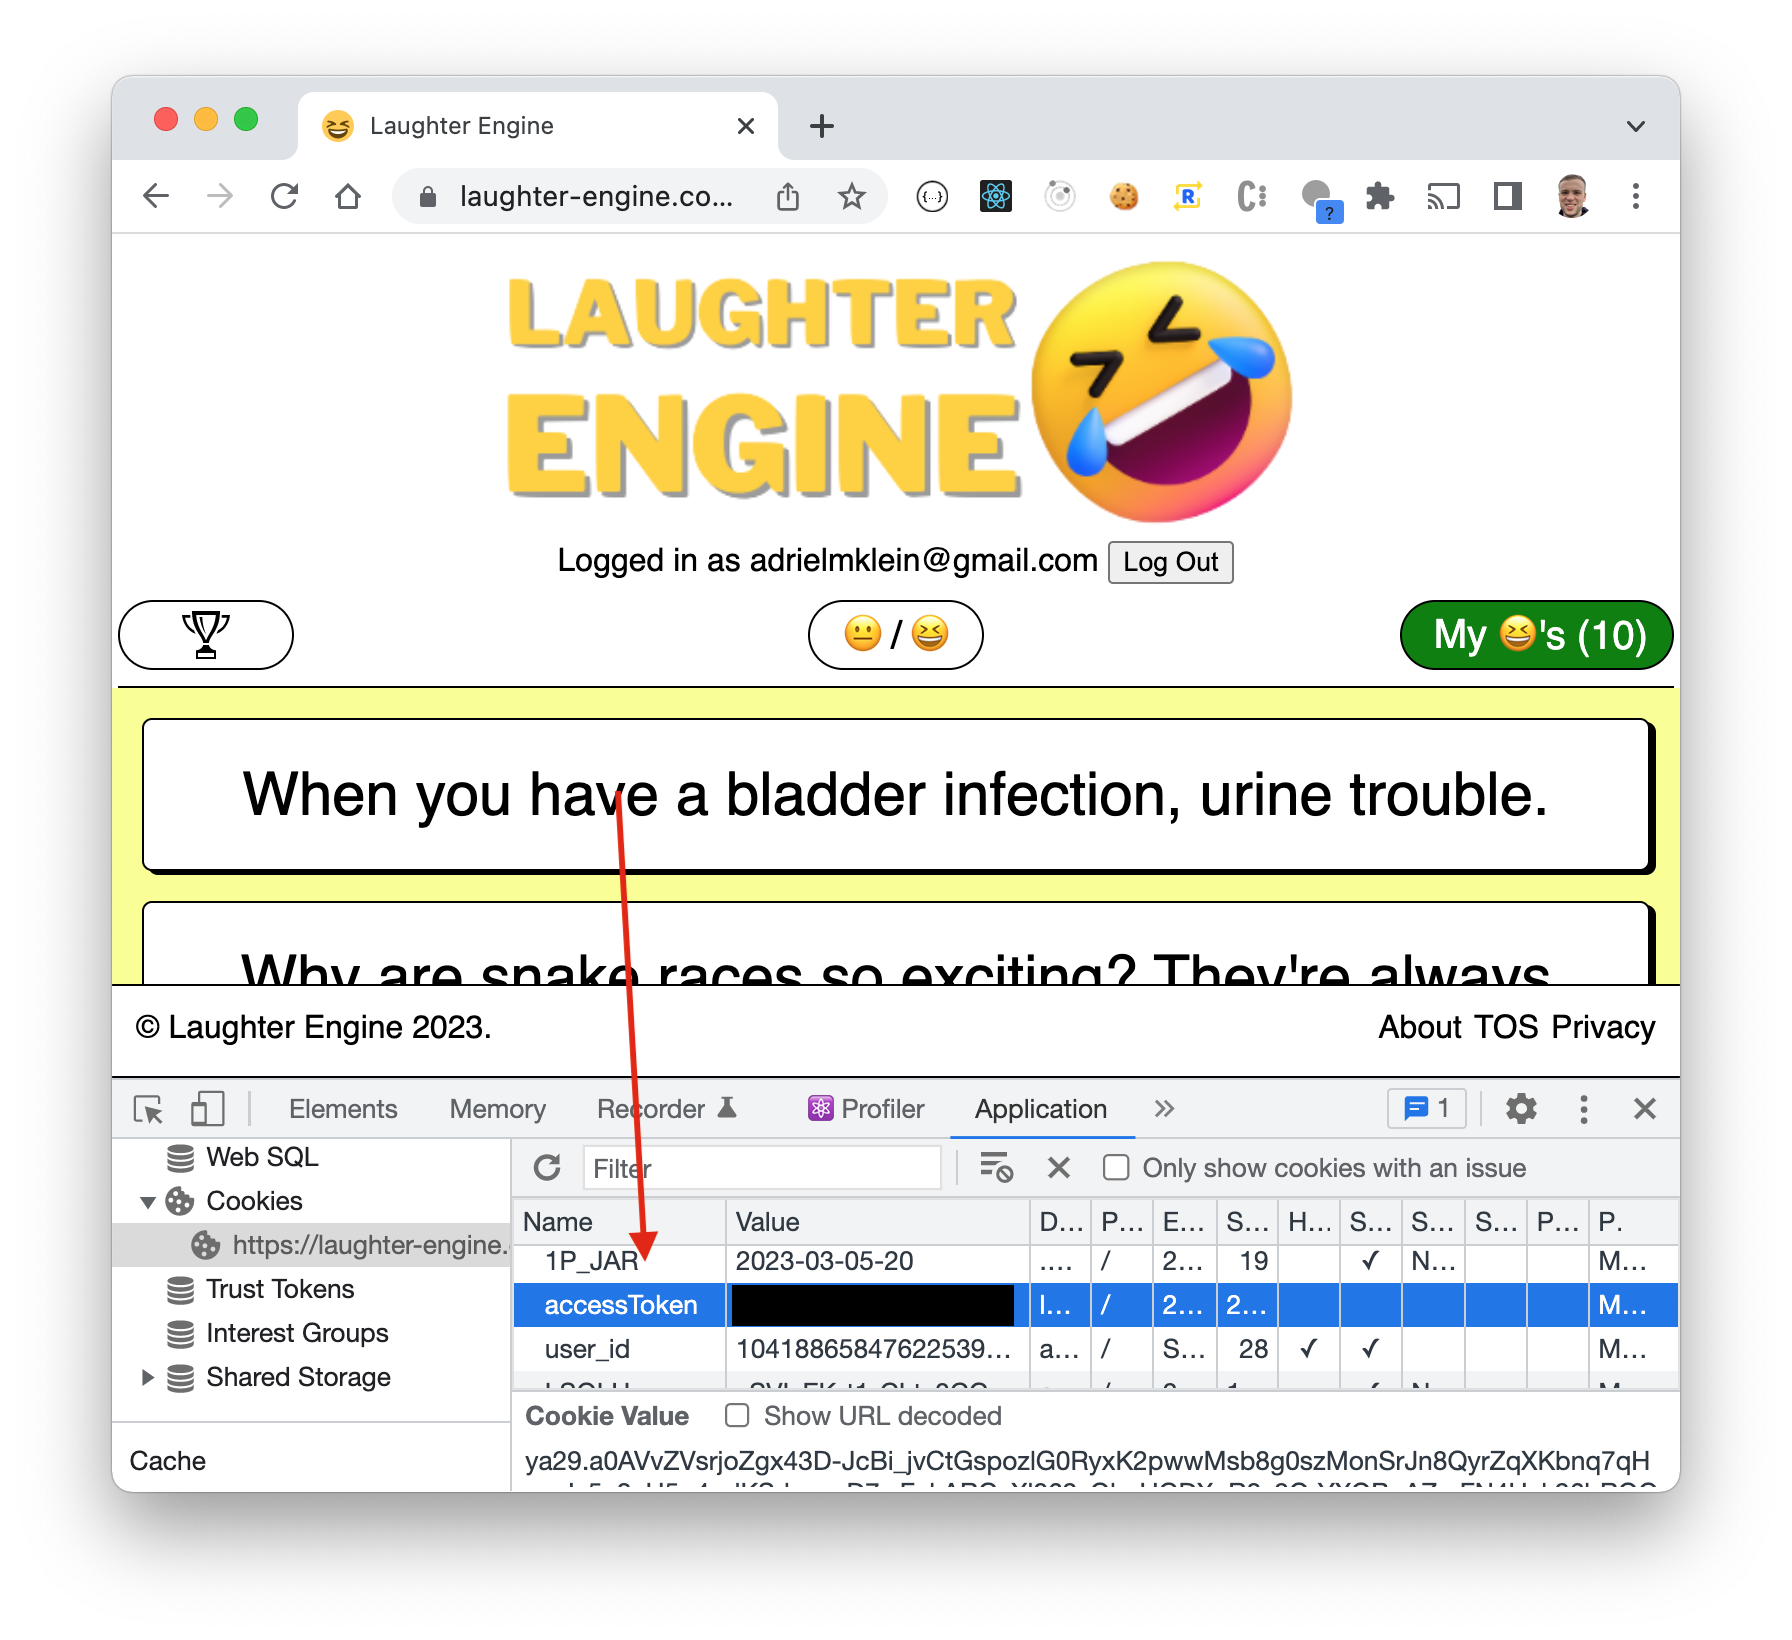
As long as that access token stays there as a cookie, we will be able to keep the user logged in. As soon as the user tries to log out, we simply remove the cookie and the process starts all over again.
Do you have any security vulnerabilities
Unfortunately, yes. As I am writing this blog post, I realize that although I require the physical user to authenticate in order to see their jokes, my backend endpoint to create the user requires only an email. So if a hacker got an understanding of how my backend endpoints operate, they could potentially write a program that would continue hammering the created user endpoint with a bunch of different emails.
Moving forward, I need to make the create user endpoint more secure to require some other type of security token and only create or update the user if that token is valid.
Conclusion
Adding in authentication to a web app isn’t as hard as you may think. It’s not rocket science, but it’s not trivial either. With a little bit of dedication and focus, you can add authentication into your app too.